Replacing the weather stripping on your car might not seem like a big deal, but it is essential to the comfort and longevity of your vehicle. As weather stripping ages, it deteriorates, leading to leaks, wind noise, and damage to your car’s interior. If you are experiencing any of these issues, it is time to replace the weather stripping on your car. This guide will show you how.
Replacing your car weather stripping is a simple process that you can do with basic tools. You remove the old weather stripping, clean the area, apply adhesive, and install the new stripping. Making sure you have a good seal will prevent leaks, reduce noise, and improve insulation in your car.
What Is Car Weather Stripping and Why Is It Important?
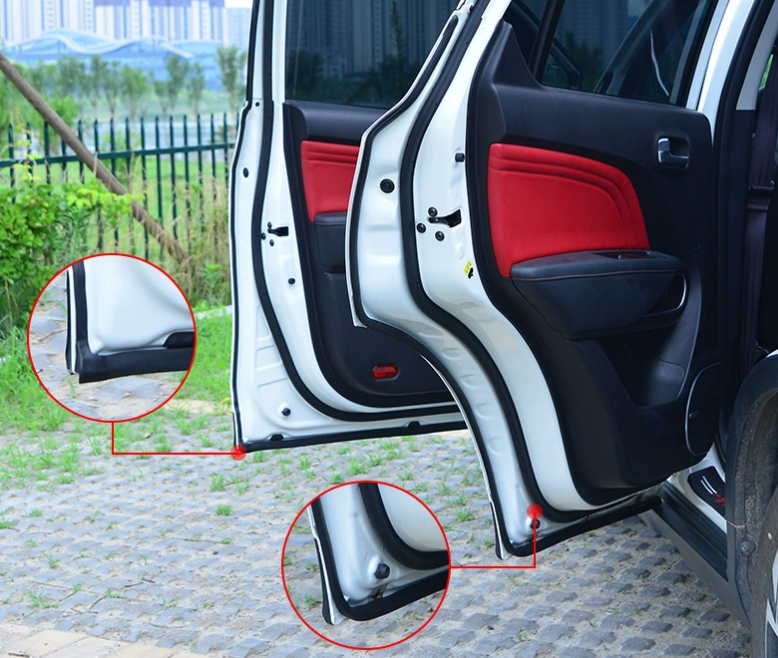
Car weather stripping, also known as a door or window seal, is a rubber material that seals the gaps around your car’s doors, windows, trunk, and other openings. It’s designed to keep water, air, dust, and noise out of your car so you can have a comfortable ride. If you don’t have good weather stripping, water can get into the car, causing rust, mold, and bad smells. It also helps regulate the temperature in your car by keeping drafts out and reducing the noise from outside.
How to Know When Your Car Weather Stripping Needs Replacement?
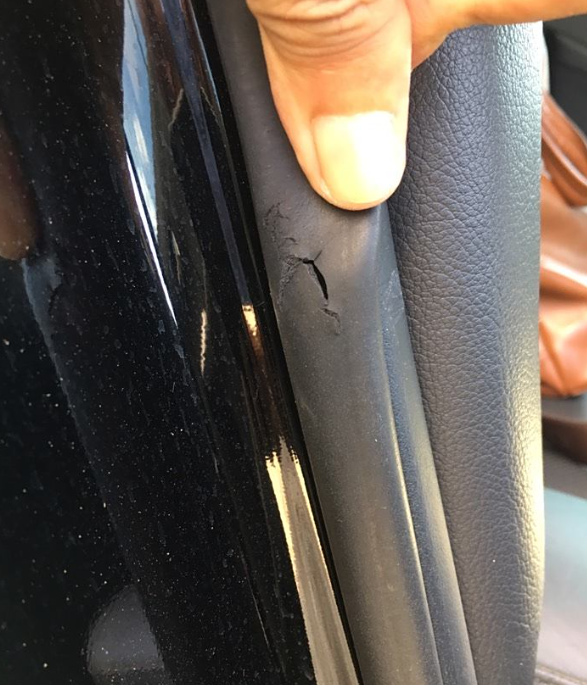
Over time, the weather stripping on your car can become worn out or damaged due to exposure to the sun, extreme temperatures, and friction from opening and closing the doors. Here are some signs that your weather stripping might need replacing:
- You can see cracks or tears in the rubber.
- You hear wind noise or feel drafts while you’re driving.
- You have water leaks inside the car, especially after it rains.
- The rubber is hard and not pliable.
- The doors don’t close as tight as they used to.
If you see any of these symptoms, it’s time to replace the weather stripping before you have more problems.
Advantages of Car Weather Stripping
Maintaining the weather stripping on your car brings several benefits:
- Prevents leaks and water damage: Good weather stripping keeps rain out and prevents water from getting inside your car, which can cause mold and rust.
- Reduces road noise: If you keep the seals in good shape, they keep a lot of the noise out of the cabin, which makes your ride much more pleasant.
- Improves climate control efficiency: When your doors and windows seal properly, your heating and air conditioning systems don’t have to work as hard. This saves you fuel and keeps you comfortable.
- Prolongs the life of interior components: By keeping your interior dry and protected from the outside world, you can extend the life of your car’s upholstery and electronics.
Car Weather Stripping Position and Function
Weatherstripping is found in a variety of places on your car, and each strip has a specific purpose:
- Doors: The seals around your car doors keep the wind and rain out and help to reduce road noise.
- Windows: These seals keep water from coming into the cabin through the windows and help to reduce noise.
- Trunk: The weather stripping around your trunk keeps it dry and free of dust and debris.
- Sunroof: If your car has a sunroof, the weather stripping around the sunroof keeps it from leaking and keeps the sunroof working properly.
Tools Needed for Car Weather Stripping Replacement
To replace weather stripping, you need a few tools:
- Flathead screwdriver: To remove the old weather stripping without damaging the surface.
- Adhesive remover: To clean up the area where the old weather stripping was attached.
- Replacement weather stripping: Find the right type for your car’s make and model.
- Clean cloth: To wipe away dirt and any old adhesive residue.
- Adhesive glue: Use good adhesive to hold the new weather stripping in place.
Step-by-Step Guide to Replacing Car Weather Stripping
Step 1: Remove the Old Weather Stripping
Use a flathead screwdriver to remove the old weather stripping. Be careful not to damage the area that the weather stripping was attached to. If there are screws holding it in place, remove them.
Step 2: Clean the Area
Once you remove the old weather stripping, you need to clean the area. Use an adhesive remover to remove any glue or residue. You need a clean surface for the new weather stripping to adhere properly.
Step 3: Apply the New Adhesive
Apply a thin line of adhesive along the edge where the new weather stripping will be placed. Follow the manufacturer’s instructions on how much adhesive to use and how long it needs to dry.
Step 4: Install the New Weather Stripping
Carefully place the new weather stripping along the edge. Press it into place and make sure it lines up and there are no gaps. If necessary, use the screws you removed to secure it in place.
Step 5: Test the Seal
Close the door or window and check for gaps. Run water over the area or drive to see if you notice a difference in noise or leaks.
Types of Weather Stripping for Cars: Which One Should You Choose?
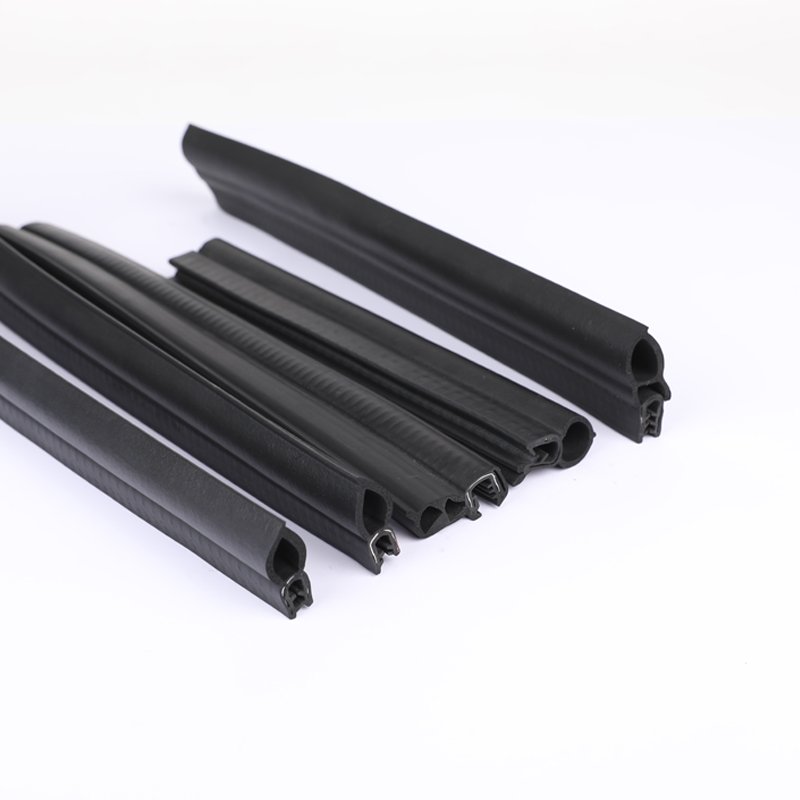
There are many different types of weather stripping you can buy. Depending on your car model and the area you’re replacing, you may need a different kind. Here are the most popular:
- Door weather stripping: Used to seal the door, and keep out wind and water.
- Window weatherstripping: Used to seal the windows.
- Trunk weatherstripping: Used to keep water and dust out of the trunk.
- Universal weather stripping kits: You can get these for general use. You can cut them to fit your car’s specifications.
Summary:
Replacing your car’s weather stripping is an essential maintenance task that will make your car more comfortable and prevent damage. In this guide, I’ll show you how to replace weather stripping on your car so you can save money on repairs. Taking care of this will ensure your car is weatherproof and insulated, making for a better driving experience.


